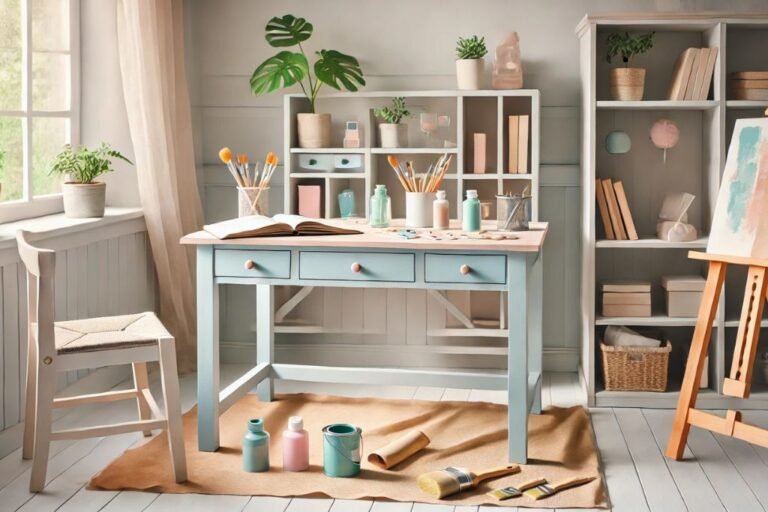
Dear friends, IKEA furniture is stylish, functional, and affordable. But sometimes, you might want to give it a personal touch with a fresh coat of paint. Painting IKEA furniture can transform a simple piece into something unique and beautiful. Follow these easy steps to ensure your project looks professional and lasts for years.
What You’ll Need
Before you start, gather these supplies:
- Sandpaper (120 and 220 grit)
- Primer (designed for laminate or glossy surfaces)
- Paint (latex or chalk paint works best)
- Paintbrushes or foam rollers
- Painter’s tape
- Drop cloth
- Degreaser or mild soap
- A clean cloth
Step 1: Prepare the Surface
Proper preparation is key to getting a smooth and long-lasting finish.
- Clean the Furniture: Wipe down the piece with a damp cloth and mild soap to remove dirt and grease. Let it dry completely.
- Disassemble If Needed: Take apart drawers, shelves, and hardware to make painting easier.
- Sand the Surface: Lightly sand the furniture with 120-grit sandpaper to remove the glossy finish. This helps the primer stick better.
- Clean-Off Dust: Use a clean, damp cloth to wipe away all sanding dust.
Step 2: Apply Primer
Priming is crucial, especially for IKEA’s laminate furniture.
- Choose the Right Primer: Use a primer designed for glossy or non-porous surfaces. Zinsser and Kilz are great options.
- Apply an Even Coat: Use a paintbrush or foam roller to apply the primer. Cover the surface evenly and let it dry according to the instructions on the can.
- Lightly Sand Again: Once the primer dries, use 220-grit sandpaper to smooth out any rough spots.
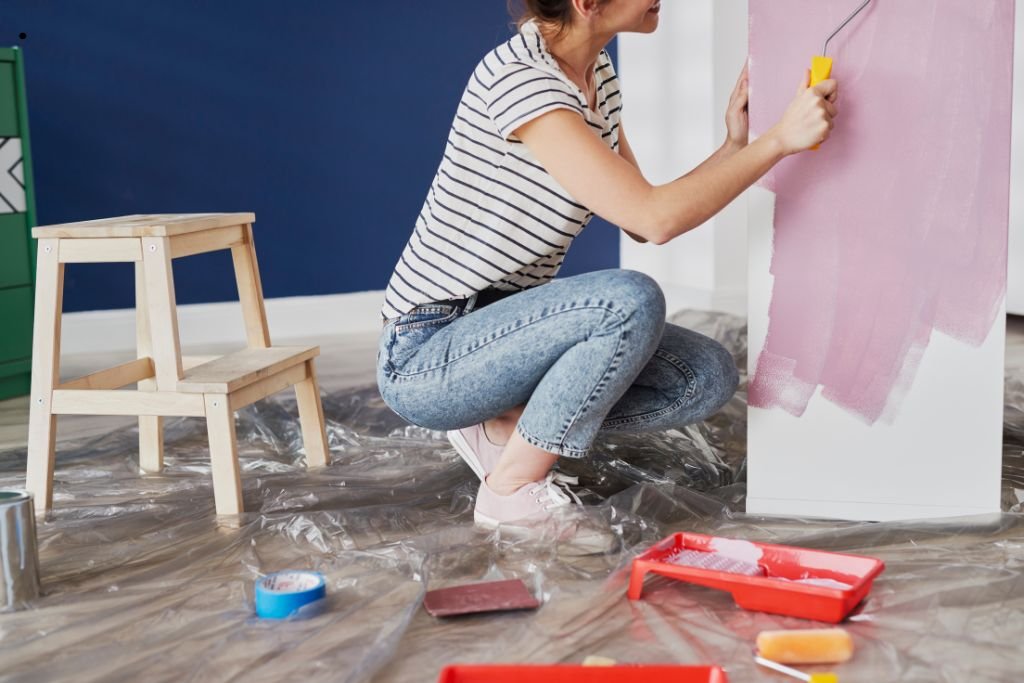
Step 3: Paint the Furniture
Now it’s time to add color
- Pick the Right Paint: Choose a durable paint like latex, acrylic, or chalk paint. Chalk paint is especially forgiving and gives a smooth finish.
- Apply the First Coat: Use a foam roller for large areas and a brush for corners or edges. Apply thin, even coats to avoid drips.
- Let It Dry: Allow the first coat to dry completely before adding another. Check the paint can for drying times.
- Add More Coats: Apply 2–3 thin coats for the best coverage. Let each coat dry fully before adding the next.
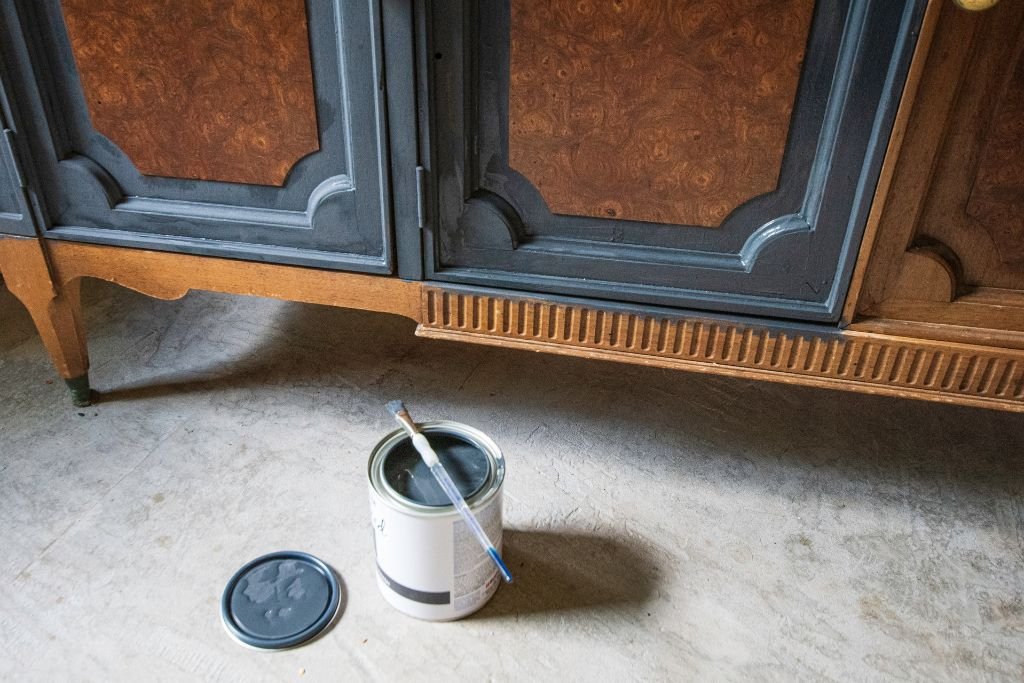
Step 4: Protect the Finish
Sealing your painted furniture helps it last longer and resist wear.
- Use a Clear Topcoat: Apply a polyurethane or polycrylic sealant for added durability. Use a matte, satin, or glossy finish depending on your preference.
- Apply Thin Layers: Use a clean brush or roller to apply the topcoat evenly. Let it dry fully between coats.
Tips for Success
- Test First: If you’re unsure how the paint will look, test it on an inconspicuous area.
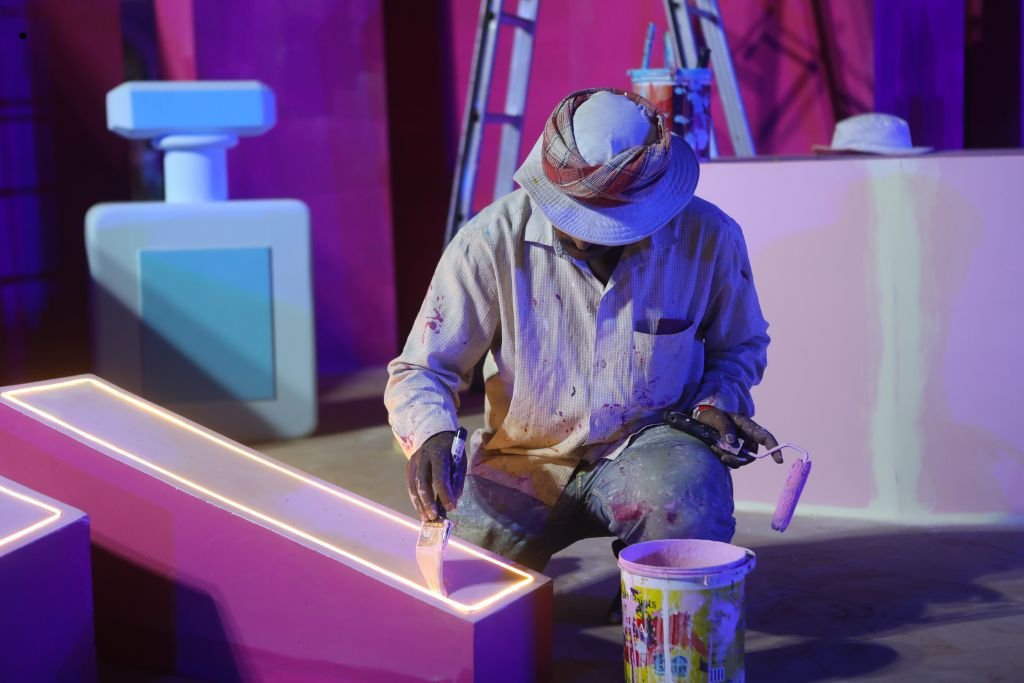
- Work in a Ventilated Area: Paint fumes can be strong, so work in a space with good airflow.
- Use Painter’s Tape: Protect areas you don’t want painted, like hardware or glass, with tape.
- Be Patient: Allow plenty of drying time to avoid smudges or imperfections.
Why Paint IKEA Furniture?
Painting IKEA furniture is an affordable way to personalize your space. It lets you match your furniture to your décor and gives older pieces a fresh, updated look. Plus, it’s a fun DIY project that you can complete over a weekend.
Final Thoughts
Painting IKEA furniture is simple and rewarding. By following these steps and using the right materials, you can achieve a professional finish that looks amazing. Whether you’re updating a bookshelf, dresser, or table, a little paint can make a big difference. So grab your supplies and start creating something beautiful

My name is David from Houston, Texas (USA) I’ve spent the last 10 years working with some of the biggest furniture brands in the United States. I’ve helped thousands of customers and learned what makes furniture strong, stylish, and worth your money.