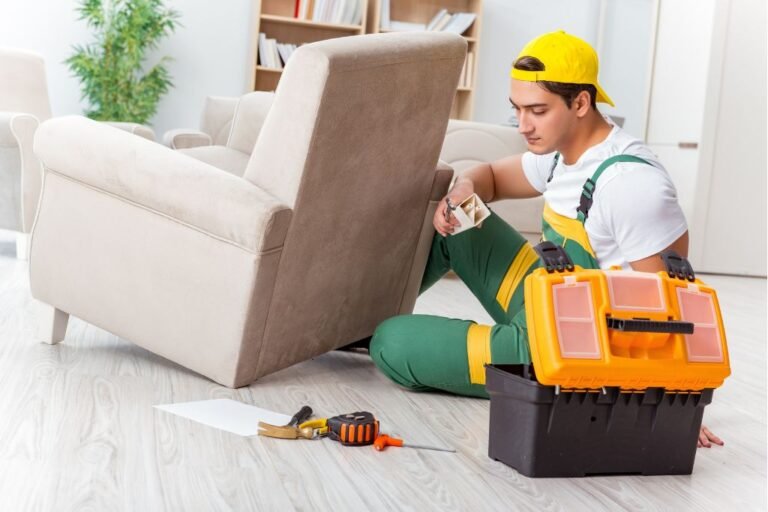
Dear friends, Leather furniture adds elegance and comfort to any home. However, over time, it can develop scratches, tears, or wear that diminish its beauty. Repairing leather furniture might seem challenging, but with the right tools and steps, you can restore it to look like new. Here’s how you can repair leather furniture in a few easy steps.
1. Assess the Damage
Before starting, examine your furniture to identify the type of damage:
- Scratches: Minor surface marks.
- Tears or Cuts: Small rips in the leather.
- Cracks: Dry areas where the leather has split.
- Stains or Discoloration: Areas where the color has faded or been stained.
Knowing the type of damage will help you choose the right repair method.
2. Clean the Leather
Before repairing, clean the leather to remove dirt and oils that could interfere with the repair process.
What You Need:
- Mild soap or leather cleaner
- A soft cloth
Steps:
- Mix mild soap with warm water or use a leather cleaner.
- Wipe the damaged area with a soft cloth to remove grime.
- Let the leather dry completely before proceeding.
3. Fix Scratches
For minor scratches, you can use leather conditioner or oil to restore the surface.
What You Need:
- Leather conditioner or olive oil
- A soft cloth
Steps:
- Apply a small amount of conditioner or oil to the scratched area.
- Rub gently in circular motions with a cloth.
- Wipe off excess product and let it dry.
4. Repair Tears or Cuts
For small tears, a leather repair kit is the best solution. These kits contain adhesive, patches, and colorants to match your furniture.
What You Need:
- Leather repair kit
- Patch (if needed)
- Adhesive
Steps:
- Cut a patch slightly larger than the tear if the kit includes one.
- Apply adhesive to the edges of the tear or the back of the patch.
- Press the patch or tear edges together and hold until secure.
- Use the colorant from the kit to blend the repair with the surrounding leather.
5. Restore Cracks
Cracks in leather are common due to dryness. A leather filler and conditioner can fix these areas.
What You Need:
- Leather filler
- Leather conditioner
- A palette knife or applicator
Steps:
- Apply leather filler to the cracked areas using a palette knife.
- Smooth out the filler and let it dry completely.
- Condition the leather to restore moisture and flexibility.
6. Fix Stains or Fading
For discoloration or stains, a leather dye or recoloring balm can work wonders.
What You Need:
- Leather dye or recoloring balm
- A sponge or cloth
Steps:
- Apply the dye or balm to the faded area with a sponge or cloth.
- Blend it evenly to match the surrounding leather.
- Let it dry and buff with a clean cloth.
7. Seal and Protect the Repair
After repairing the leather, use a sealant or leather protectant to prevent further damage.
What You Need:
- Leather sealant or protectant
- A soft cloth
Steps:
- Apply a thin layer of sealant to the repaired area.
- Let it dry completely before using the furniture.
Tips for Success
Match the Color: Test the dye or colorant on an inconspicuous area first to ensure it matches.
Work in Layers: For deeper damage, apply filler or dye in thin layers rather than one thick coat.
Be Patient: Allow adequate drying time between steps for the best results.
When to Call a Professional
If the damage is extensive or on high-end furniture, consider hiring a professional leather repair service. They have specialized tools and expertise to restore your furniture to its original condition.
Final Thoughts
Repairing leather furniture is a rewarding DIY project that saves money and extends the life of your pieces. Whether you’re fixing scratches, tears, or fading, the right techniques and tools can make a big difference. With a little effort, your leather furniture can look as good as new, bringing comfort and style back into your home.

My name is David from Houston, Texas (USA) I’ve spent the last 10 years working with some of the biggest furniture brands in the United States. I’ve helped thousands of customers and learned what makes furniture strong, stylish, and worth your money.